This is a step by step guide of upgrading Sitecore Version 9.0.2 to Sitecore Version 9.1 using the Upgrade Center that is being provided by sitecore out of the box. This also documents my experience in going through the upgrade process. Upgrade Speed may vary then again with the machine being used and the type of internet connection since this is more reliant on your internet connection.
This upgrade does not include the xDB upgrade and also SOLR, since instance is working even with the 6.6.2 solr version, The goal was to see if Upgrade Center does upgrade the Sitecore CMS version.
Prerequisites:
- Windows 10 Operating System
- A running Instance of Sitecore Version 9.0.2 (I used a fresh instance in this installation guide)
- Sitecore License File
- .NET Framework7
- .NET Framework7.1 Developer Pack
- .NET Core1.3 Windows Hosting module
- SOLR 7.2.1 (Click here for a guide on how to easily install SOLR in your machine if you don’t have it yet)
- Sitecore Install Framework 2.0.0. For more information about installing SIF, how to get multiple instances of SIF and switching between them if necessary, here is a guide by Koen Heye
To make sure all commands of the Sitecore install framework execute properly, the prerequisite for the Sitecore Install Framework are:
- Web Deploy 3.6
- URL Rewrite Module 2.1
- SQL Server PowerShell Module
- SQL ODBC Drivers
- SQL sqlcmd Utility
- SQL Server CLR Types (x86 and x64)
Files Needed:
You need create an upgrade folder as with mine I created an upgrade folder in “D:\Upgrade” then download the following files and put them inside the folder, we need these to before we get to the upgrading process. You may have to login first to dev.sitecore.net before downloading the files.
- Sitecore1.0 rev. 001564 (WDP XP0 packages).zip
- Configuration files for upgrade
- Sitecore Update Installation Wizard
- Sitecore Identity
Instructions:
1. Installing Sitecore Identity Server
- After installing all the prerequisites we need to install the Sitecore Identity Server, One of the new features of Sitecore 9.1 is the separation of user authentication out into a separate website following the Sitecore HOST paradigm.
- Unzip “Sitecore 9.1.0 rev. 001564 (WDP XP0 packages).zip” in our “D:\Upgrade” folder, after doing so you should be able to have a folder named “Sitecore 9.1.0 rev. 001564 (WDP XP0 packages)” inside the “D:\Upgrade” folder
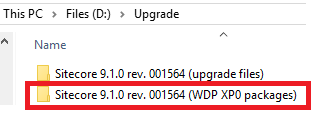
- Unzip “Sitecore 9.1.0 rev. 001564 (WDP XP0 packages).zip” in our “D:\Upgrade” folder, after doing so you should be able to have a folder named “Sitecore 9.1.0 rev. 001564 (WDP XP0 packages)” inside the “D:\Upgrade” folder
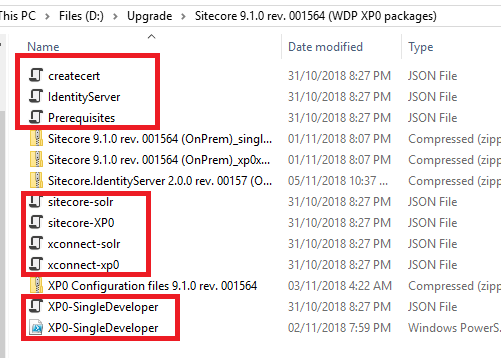
(Please don’t mind the other files on the screenshot just yet as this guide will contain each of the steps I made during the upgrade process).
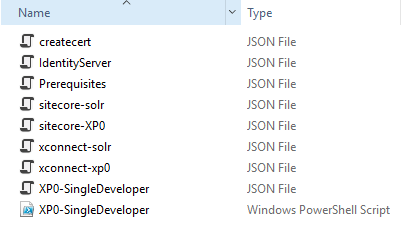
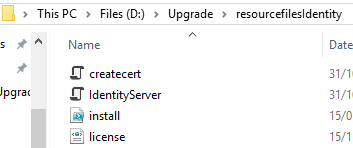
- Create a folder to hold our identity server resource files, like “D:\resourcefilesIdentity”and copy “json”, “IdentityServer.json”, also your Sitecore License File.
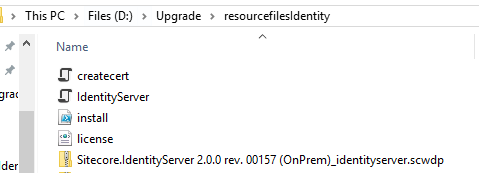

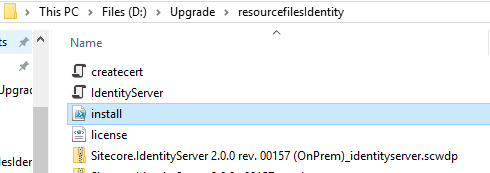
- You should see the following screen after successful execution of the script.

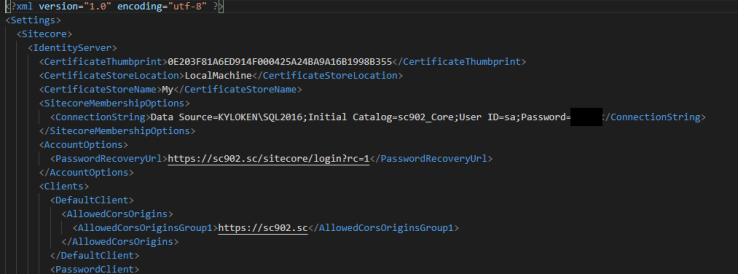
- Open the “\Instance\Config\production\Sitecore.IdentityServer.Host.xml” file and modify the following.
- Connection string should point to the site we’re going to upgrade’s Core database,
- Set the PasswordRecoveryUrl and the AllowedCorsOriginsGroup1 settings to a valid URL for a Sitecore instance. Just like what is shown below.
- Upgrading Sitecore
● Stop Two Windows Services that corresponds to your Sitecore 9.0.2 instance
- The Sitecore XConnect Search Indexer service.
- The Sitecore Marketing Automation Engine service.
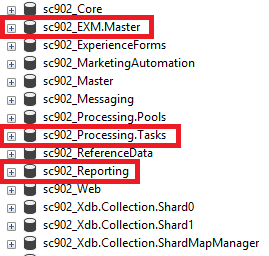
● Upgrade the Databases these database should have your prefix, in my case its sc902.
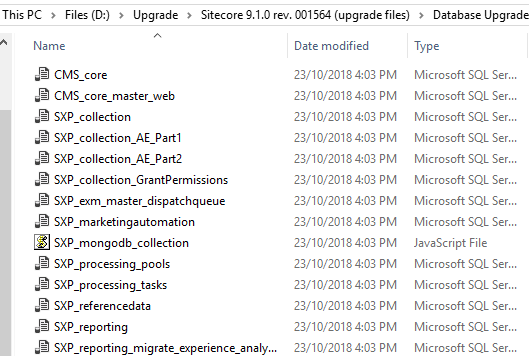
- To find the database upgrade scripts go back to your “D:\Upgrade” folder and unzip the Sitecore 9.1.0 rev. 001564 (upgrade files).zip and inside that folder you will see another zip file Database Upgrade Script.zip, unzip this file and you will get a folder with the same name inside are the database scripts that you need.
To upgrade the databases:
- Run the sql script for the Processing.tasks database.
- Run the sql script for the Reporting database.
- Run the sql script for the EXM.Master database.
● Add the Security Connection String
- In Sitecore XP 9.1, you can move security from the Core database to another database. Before you upgrade to Sitecore XP 9.1, you must add the security connection string.
- To add the security connection string, in the \App_Config folder of your Sitecore 9.0.2 instance, in the config file, add for example
● Update the Update Installation Wizard
- On the Sitecore Launchpad, click Control Panel, and in the Administration section, click Install a package.
- Install the “D:\Upgrade\Sitecore Update Installation Wizard 4.0.0 rev. 181002.zip” package.
● Install the Upgrade Package
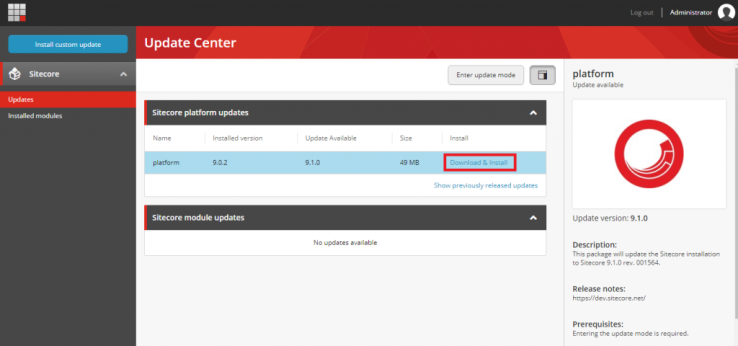
- You can now use the Update Center to install the upgrade package
- To install the upgrade package:
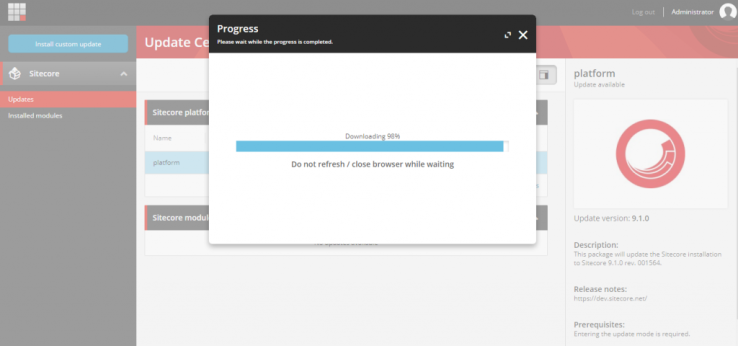
- Log in to the LaunchPad and open the Update Center.
- Select the Sitecore XP 9.1 upgrade package and then click Download and Install
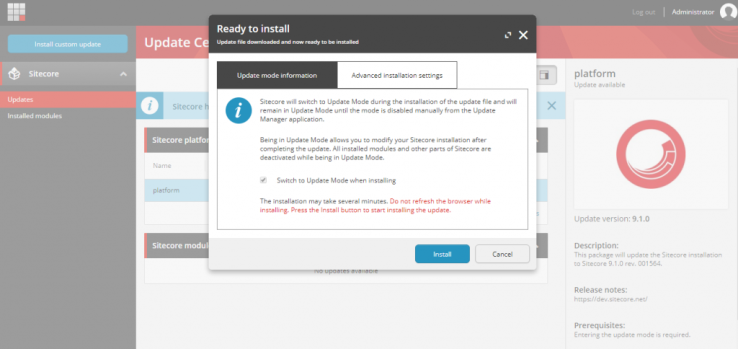
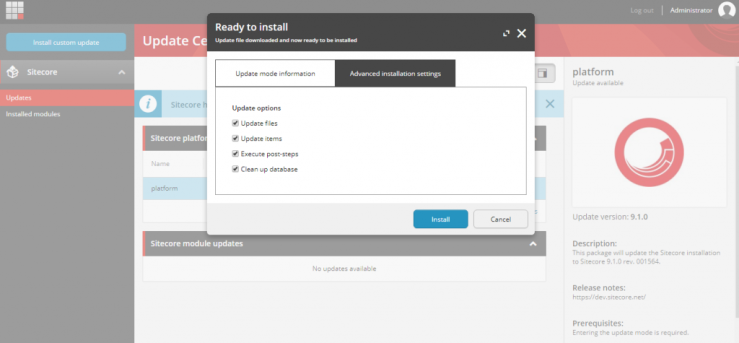
- In Advanced installation settings section, you can opt what you need to update. By default, all options are checked.
- Wait until the package is installed
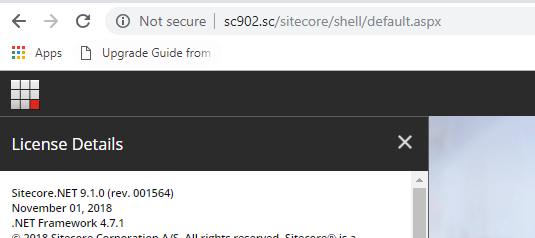
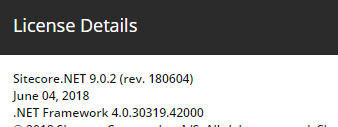
- When the upgrade package has been installed. In license details Sitecore 9.1.0 and .NET framework 4.7.1 should be displayed.
- Here is one that I have took before I did the upgrade

Leave a comment